Decorate your home for fall with a beautiful plant in this pumpkin planter!
This week has been all about pumpkin crafts! My house is starting to look just like fall. And today’s new pumpkin project might just be my favorite so far.
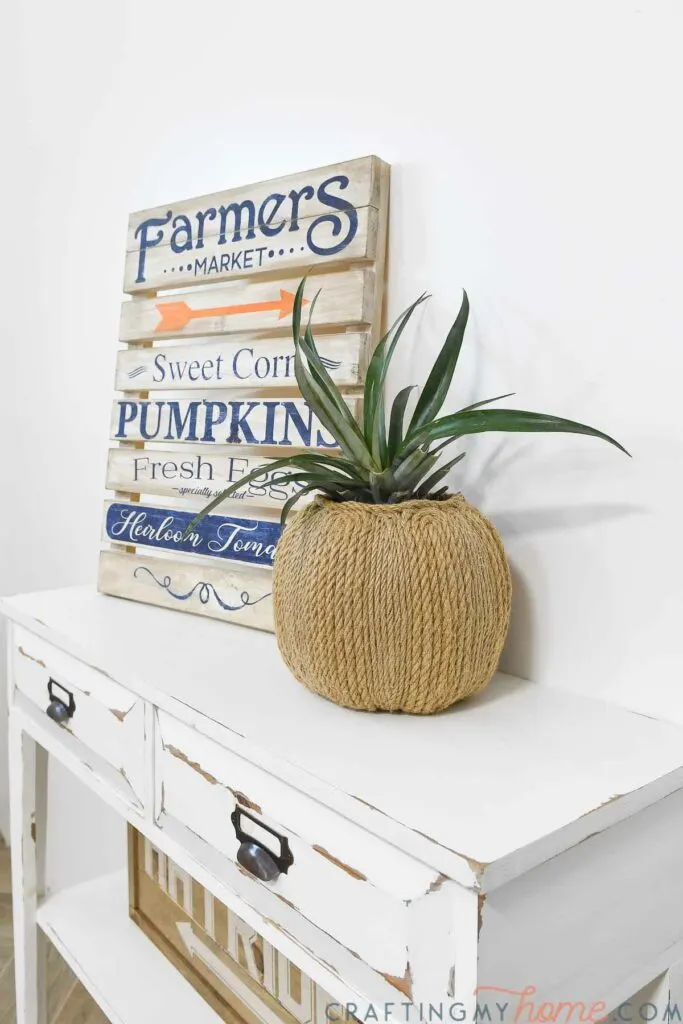
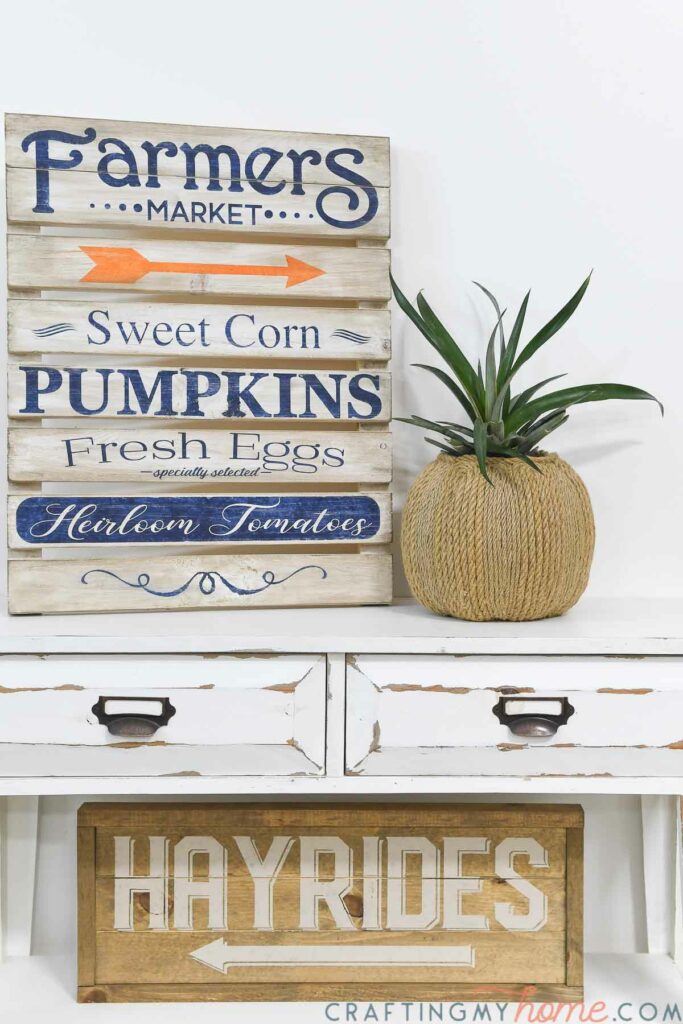
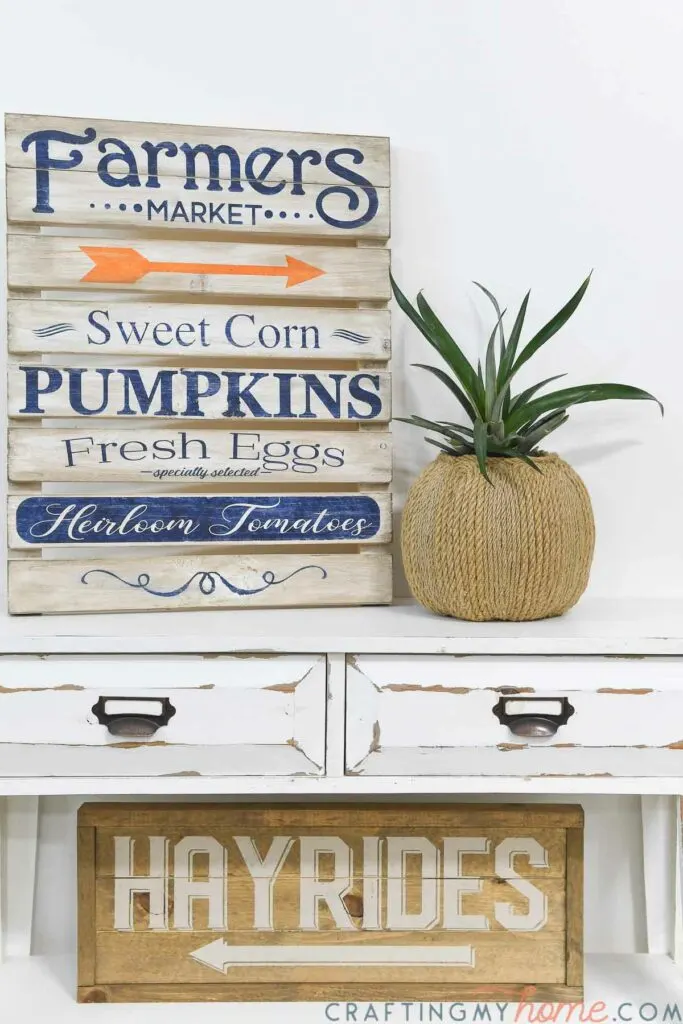
I created a fall planter, the perfect way to highlight all those house plants, out of a cheap trick-or-treat pail.
This DIY pumpkin planter turned out so stunning! No one will ever guess what it started out as.
This post may contain affiliate links. As an Amazon Associate I earn from qualifying purchases. Click here to read my full disclosure policy.

I am slightly obsessed with house plants. So when I saw the $2 pumpkin trick-or-treat bucket at the store, I knew exactly what to do with it.
The pumpkin shaped planter looks like something you would find in a high end home decor store. It doesn’t even look like a plastic jack-o-lantern anymore.
And the fall vibes would be even better if you filled it with beautiful mums. Sadly I didn’t have time to go buy some so my pumpkin planter is filled with a pineapple plant instead.

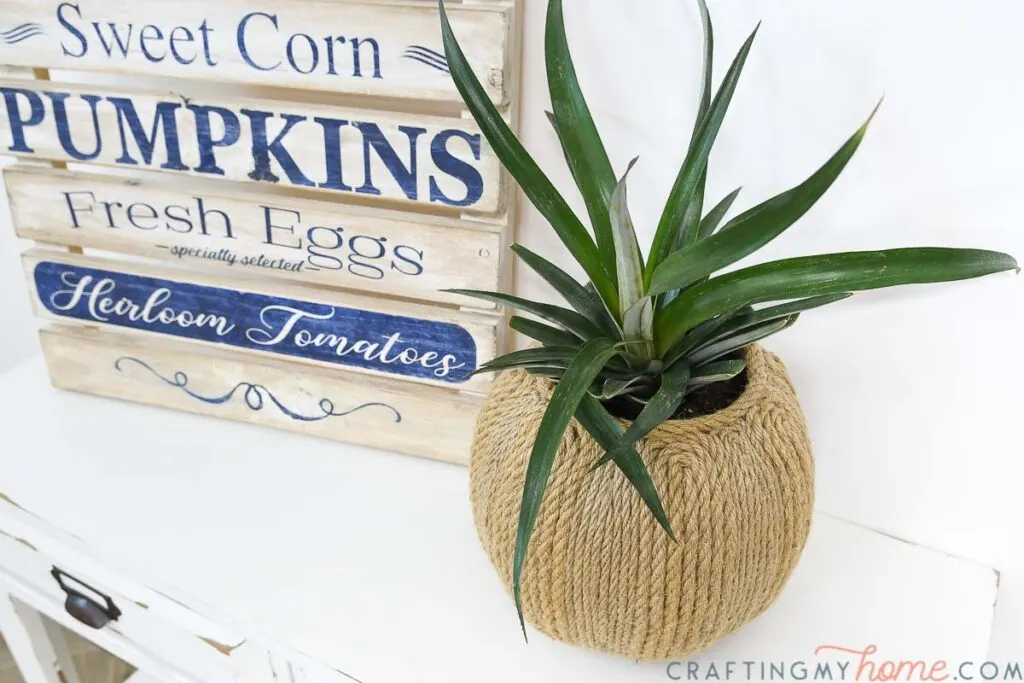
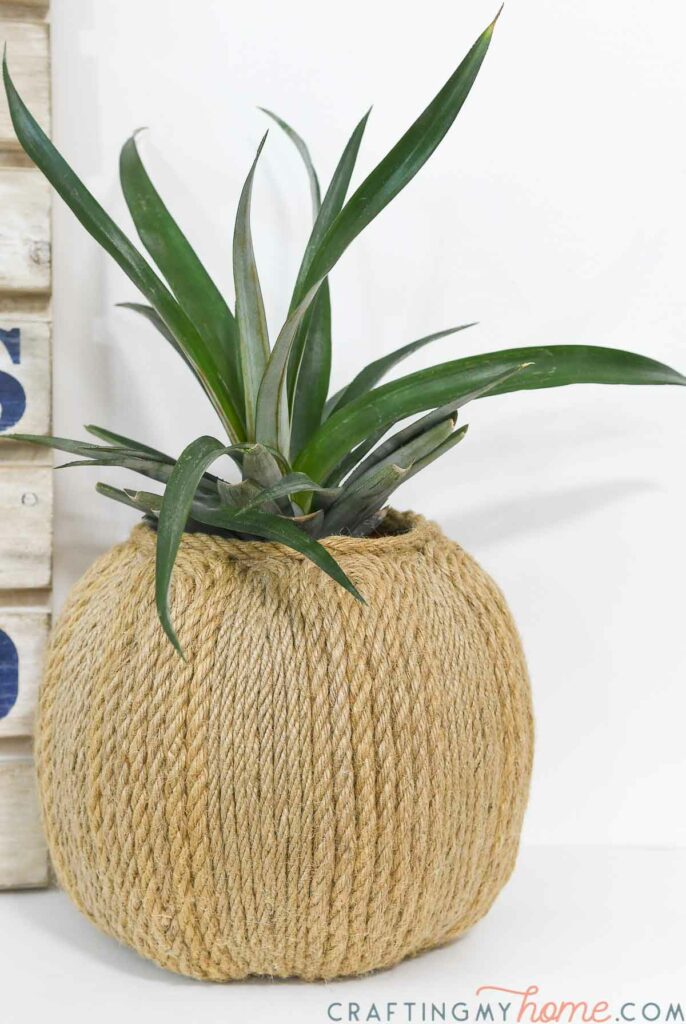
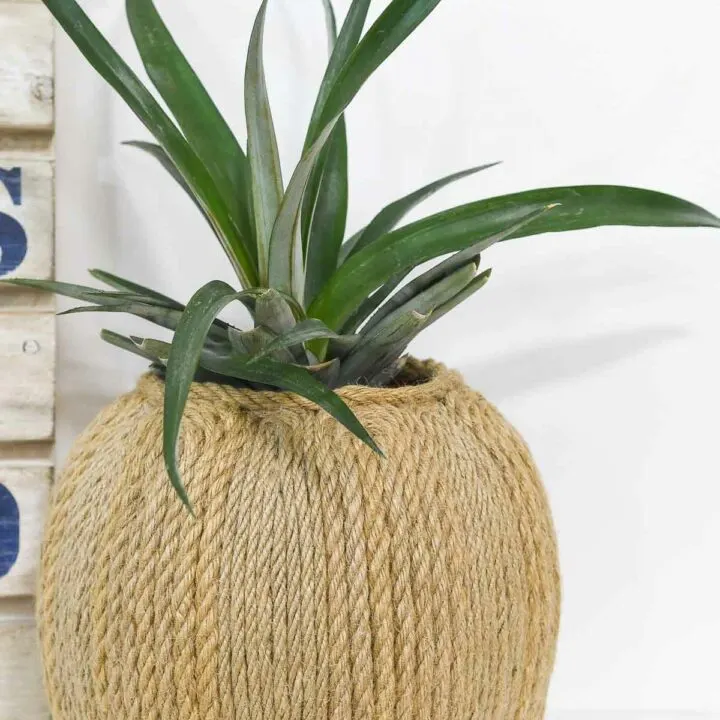
The secret to this pumpkin flower pot is the alternating rope sizes. It highlights the shape of the pumpkin and gives it a little something special.
The two sizes of jute add so much texture without being too busy.
I just love the natural warmth it gives. Perfect for all things fall!

5 Days of Pumpkin Crafts
Todays is the 4th day of the 5 Days of Pumpkin crafts. By now you should be well on your way to decorating your entire house for fall!
If you missed any posts, check them out below so you can create these fun crafts for yourself.
- Day 1: Hello Pumpkin SVG
- Day 2: Easy Wire Pumpkin Wreath
- Day 3: Tapered Paper Pumpkin Lanterns for Fall
- Day 4: Easy Pumpkin Planter for Fall
- Day 5:Cozy Modern Pumpkin Pillow
How to Make a Pumpkin Planter
Supplies needed:
- Pumpkin trick-or-treat pail
- 8mm jute rope
- 5mm jute twine
- Hot glue gun and glue sticks
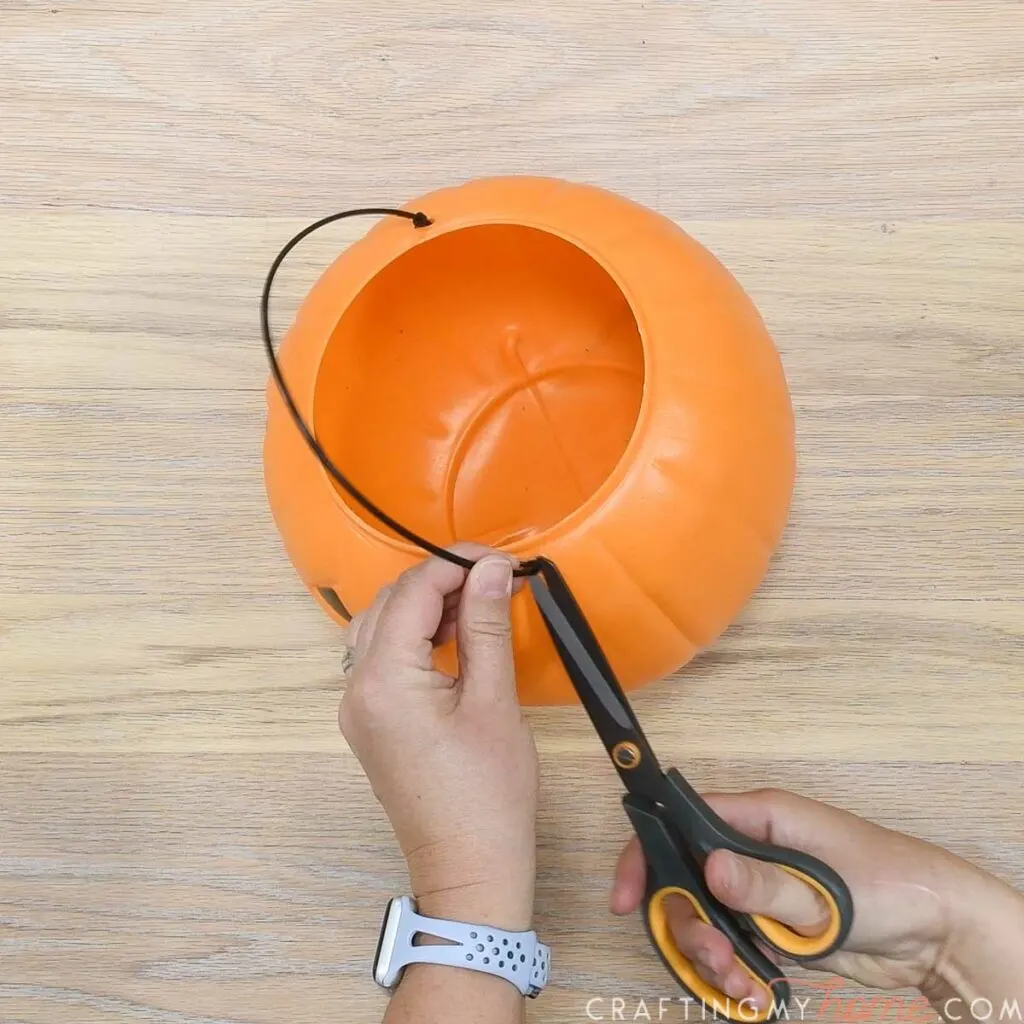
STEP 1- Attach the larger rope
Cut off the handle to your pumpkin pail.
Count the bumps around the pumpkin and determine the pattern for your alternating sizes of jute. My pumpkin had an even number of pumps so I did alternating larger rope to smaller.

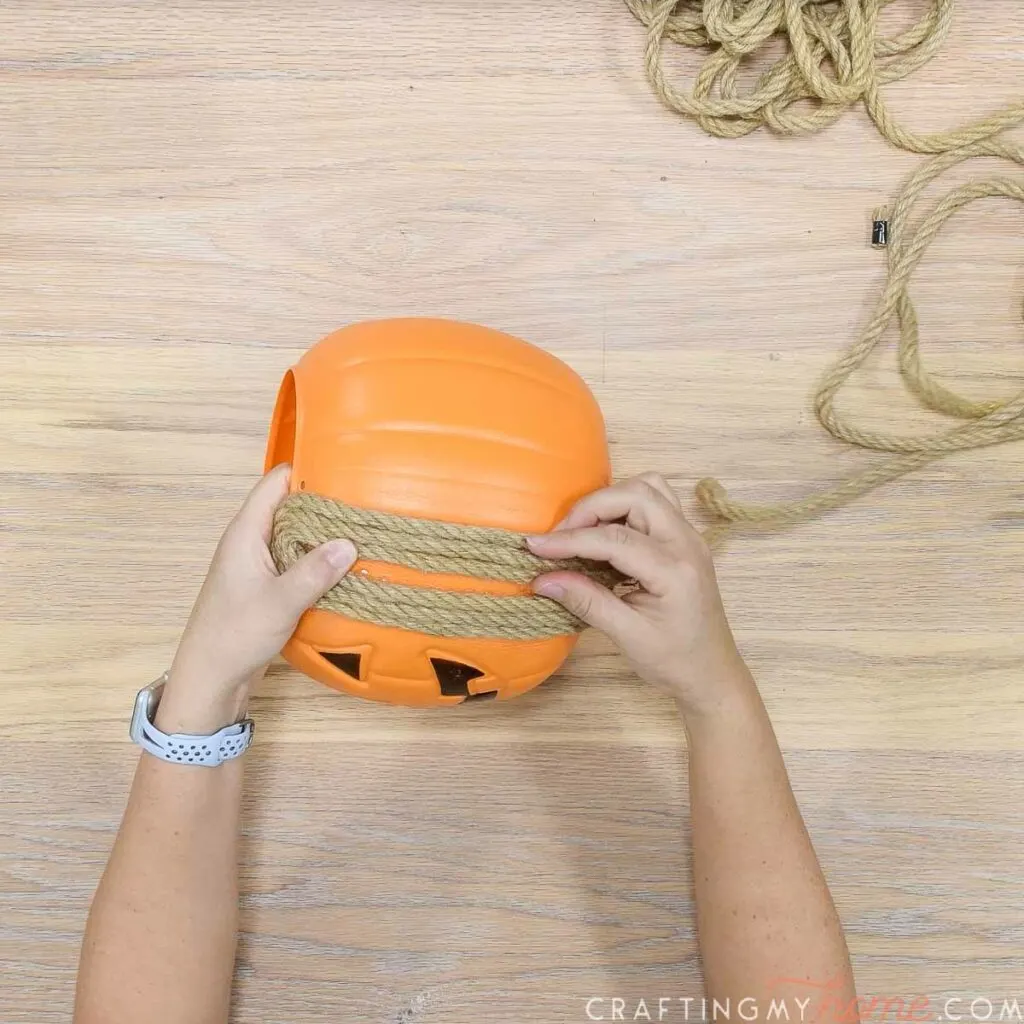
Starting with the larger jute rope, add a bead of hot glue in the indent of one of the bumps. Run the larger twine up the indent and hold to secure.
Start glueing at the bottom and continue up the indent to the top.

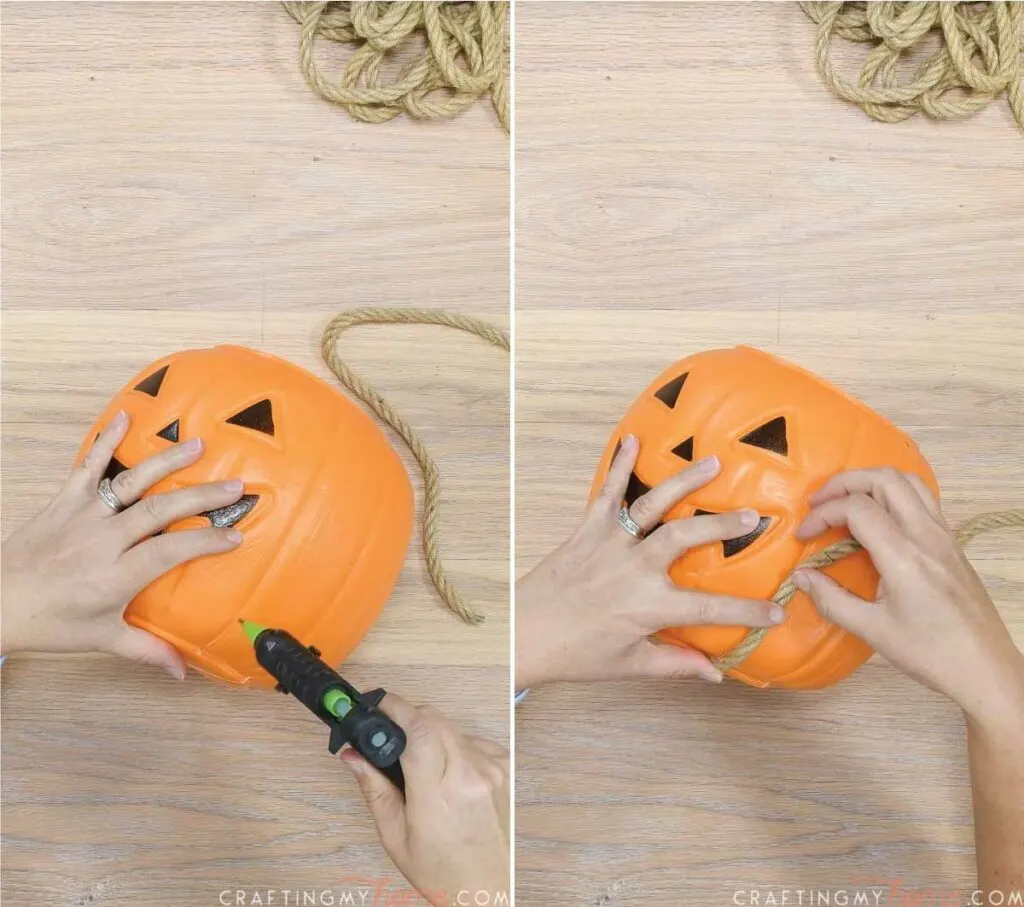
When you get to the top, run the glue & rope along the top to the next indent. Then glue it all the way down to the bottom.
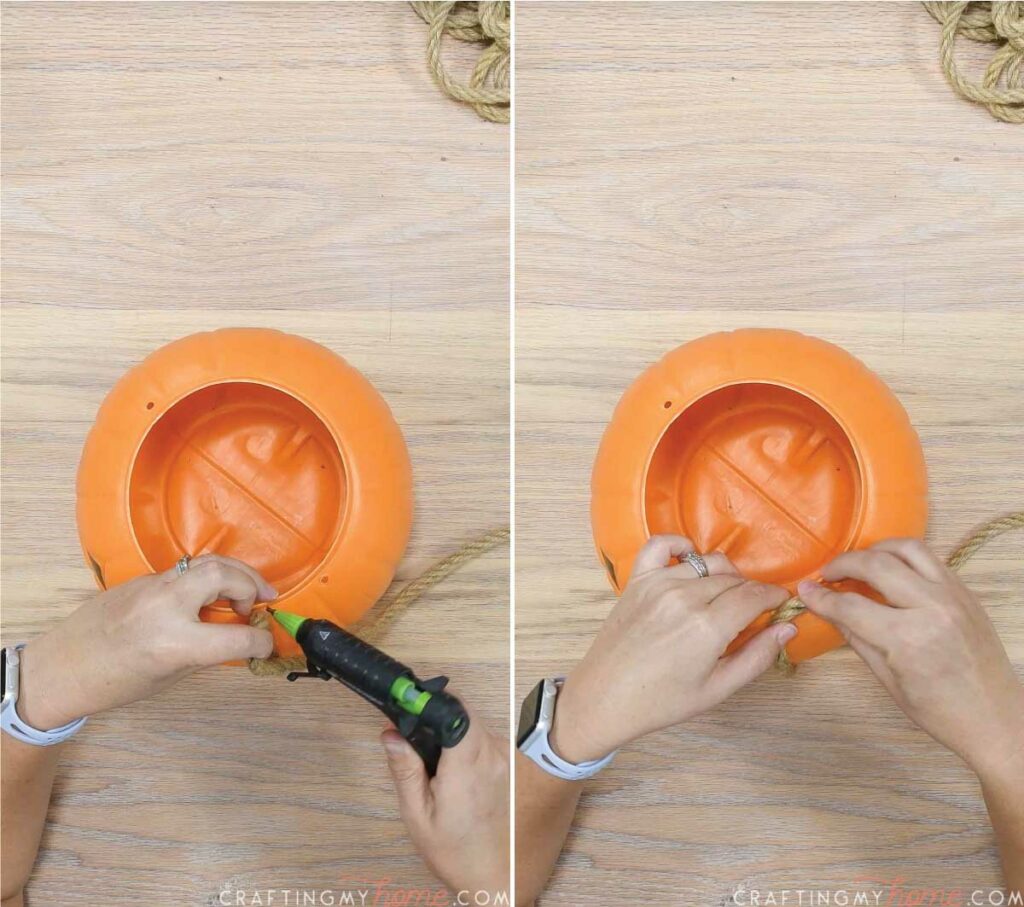

Glue the rope along the bottom back towards where you started. Then glue up along the inside of the rope.

Continue glueing the rope down on the inside of itself until you completely fill in the bump.
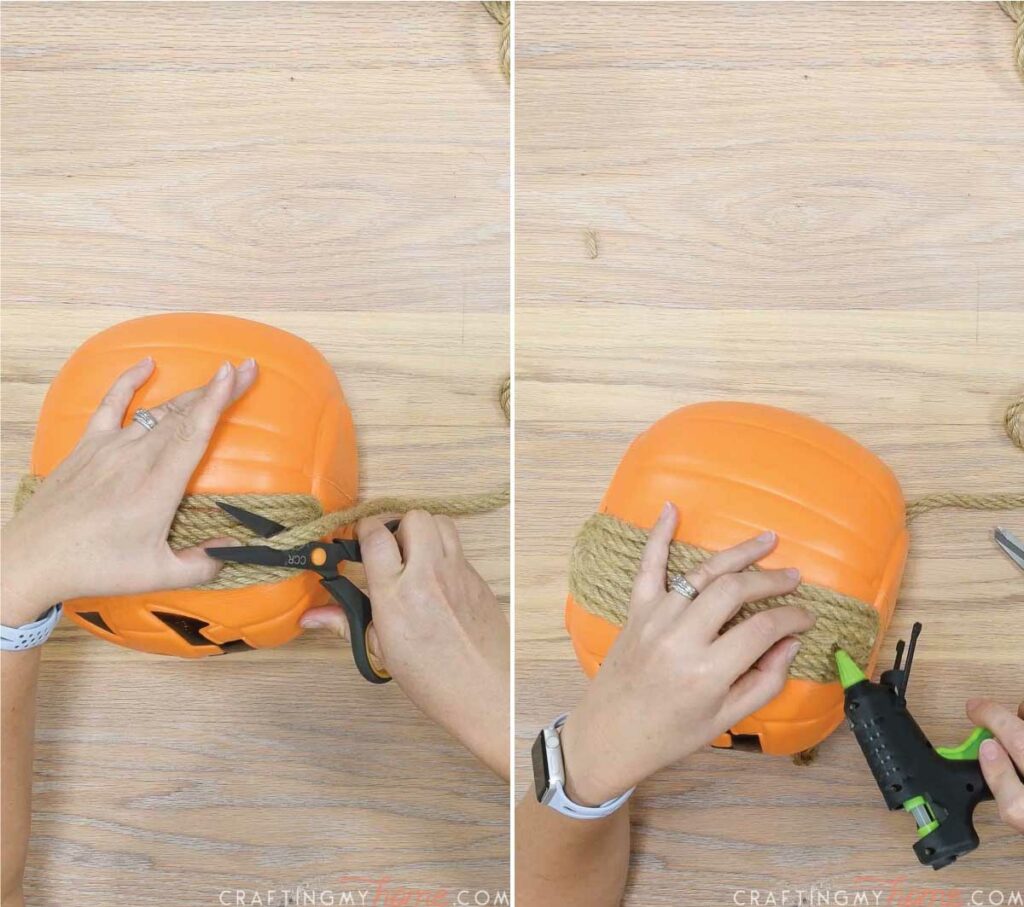
For the piece down the center. it might be too tight to curve the rope. So I cut the rope at the bottom. Then cut a new piece to fill in the center.
Cut the rope on an angle and tuck the ends in between the other ropes to help it disappear. Secure with glue.

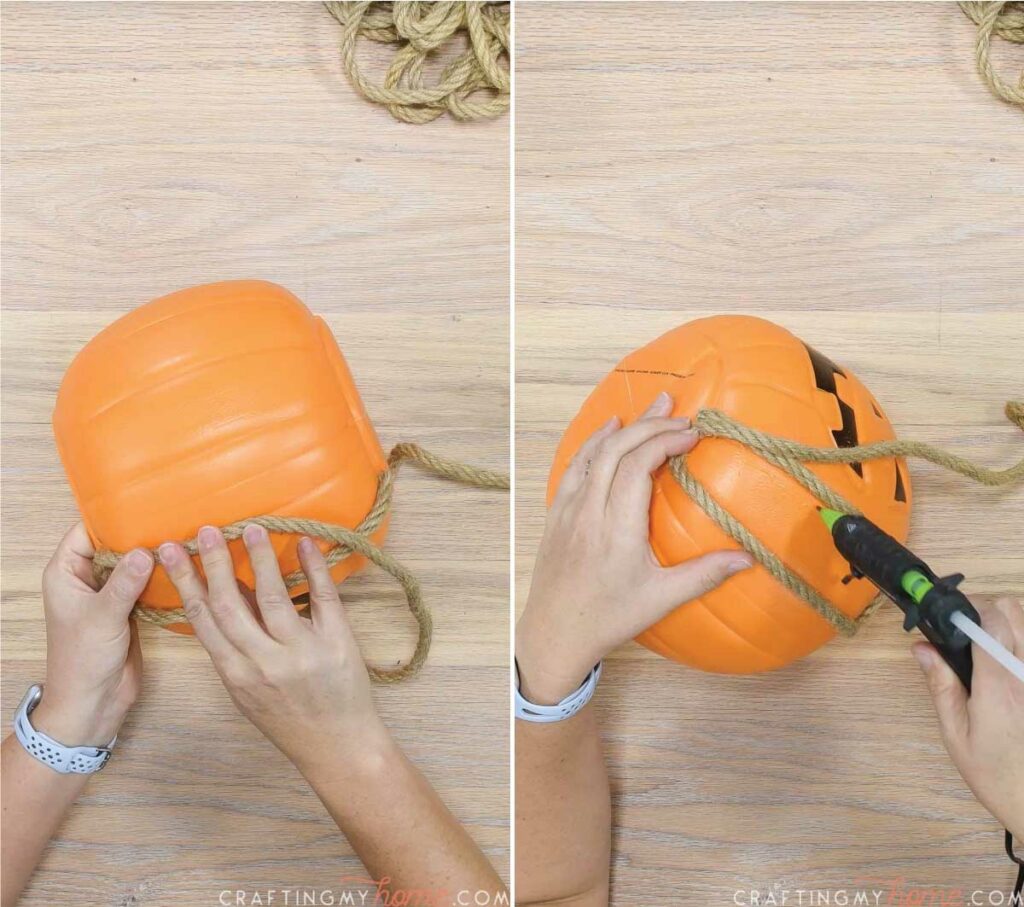
Continue adding all the larger rope sections around the entire pumpkin (even over the indented jack-o-lantern face). Use the indents as a guide.
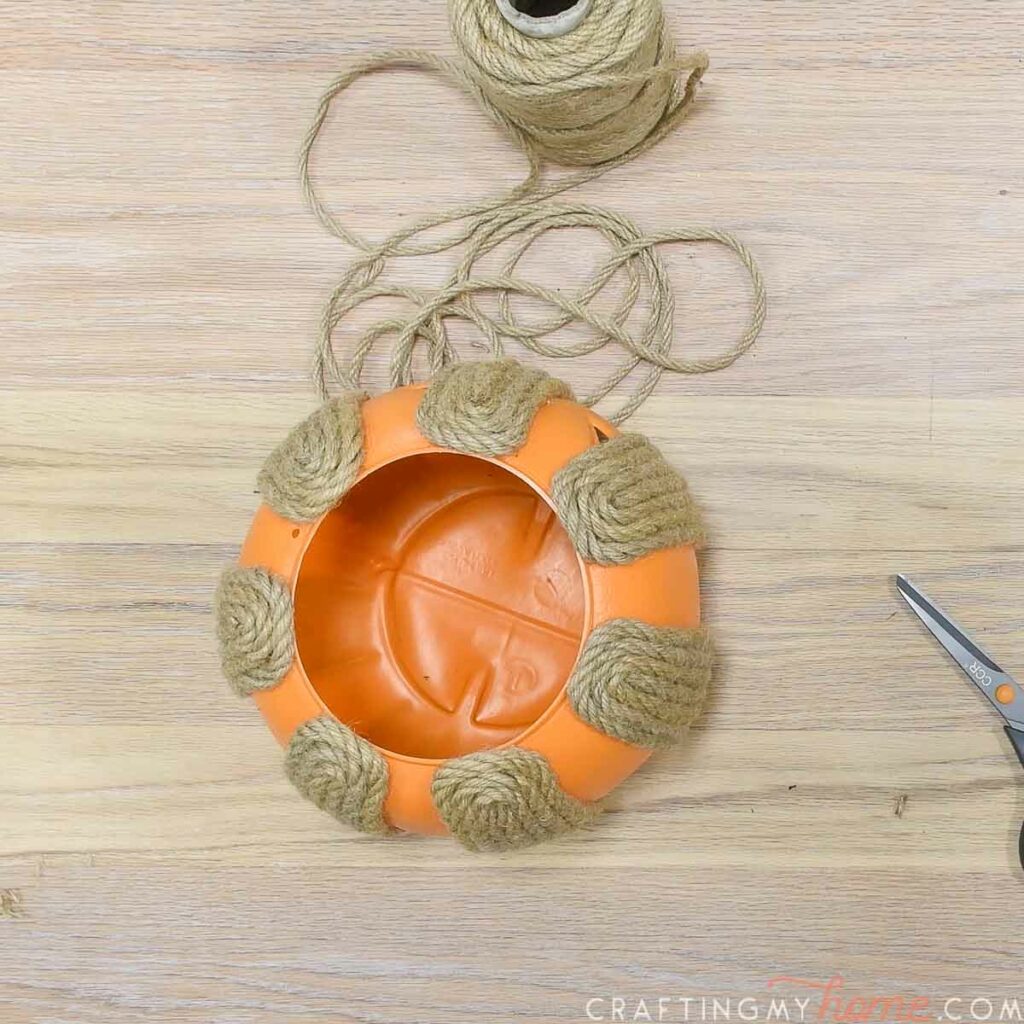

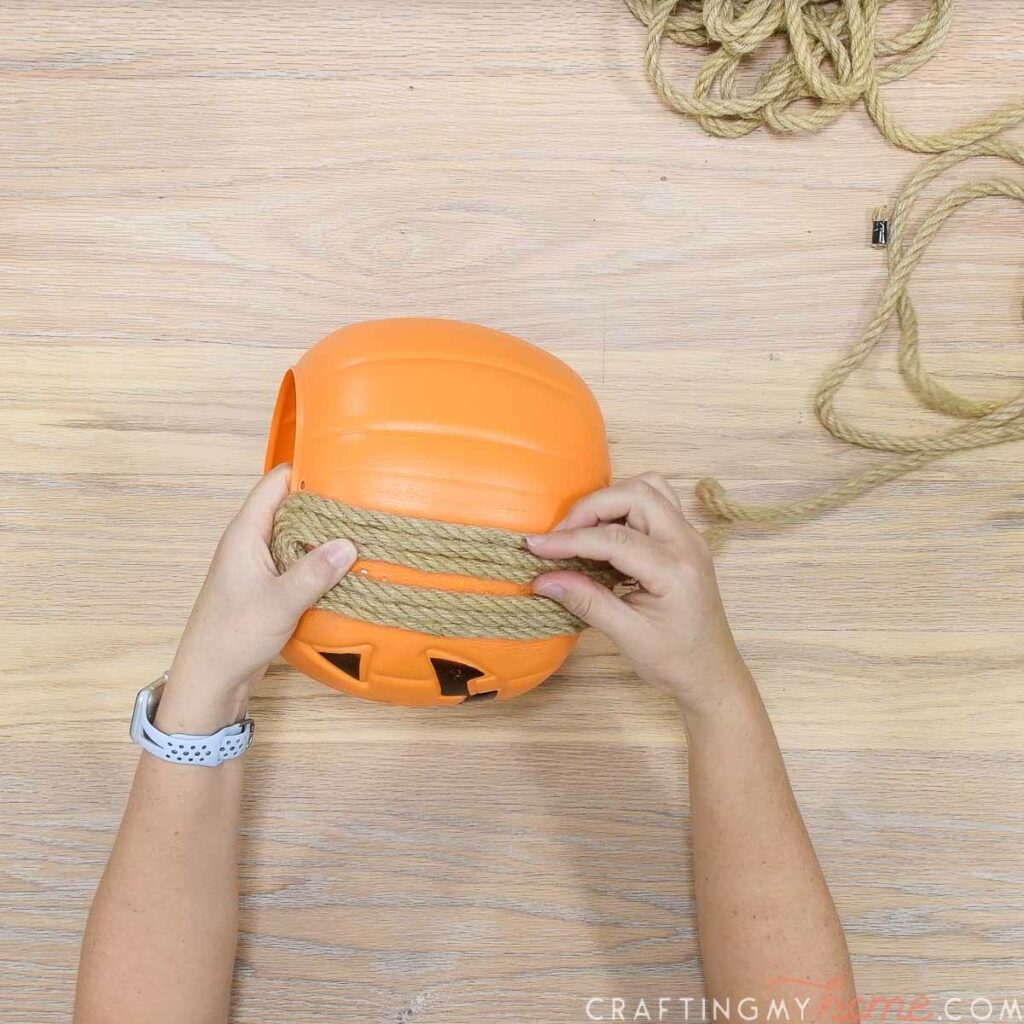
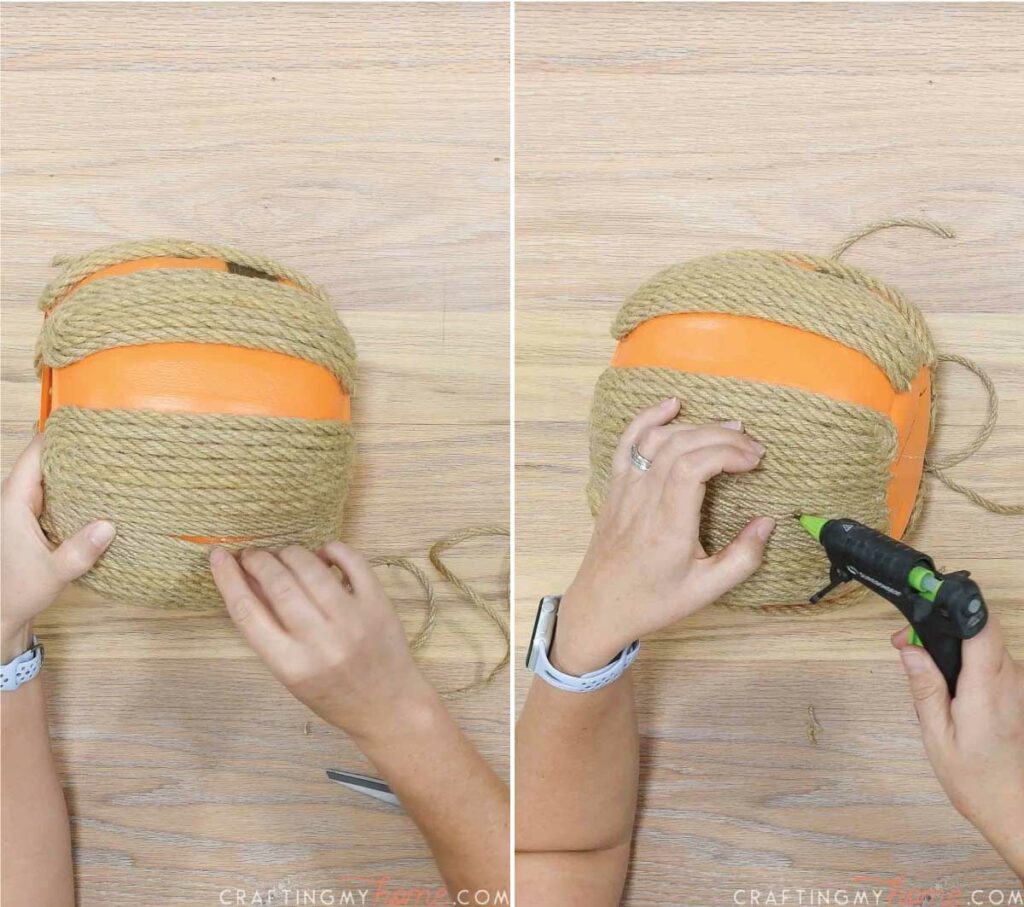
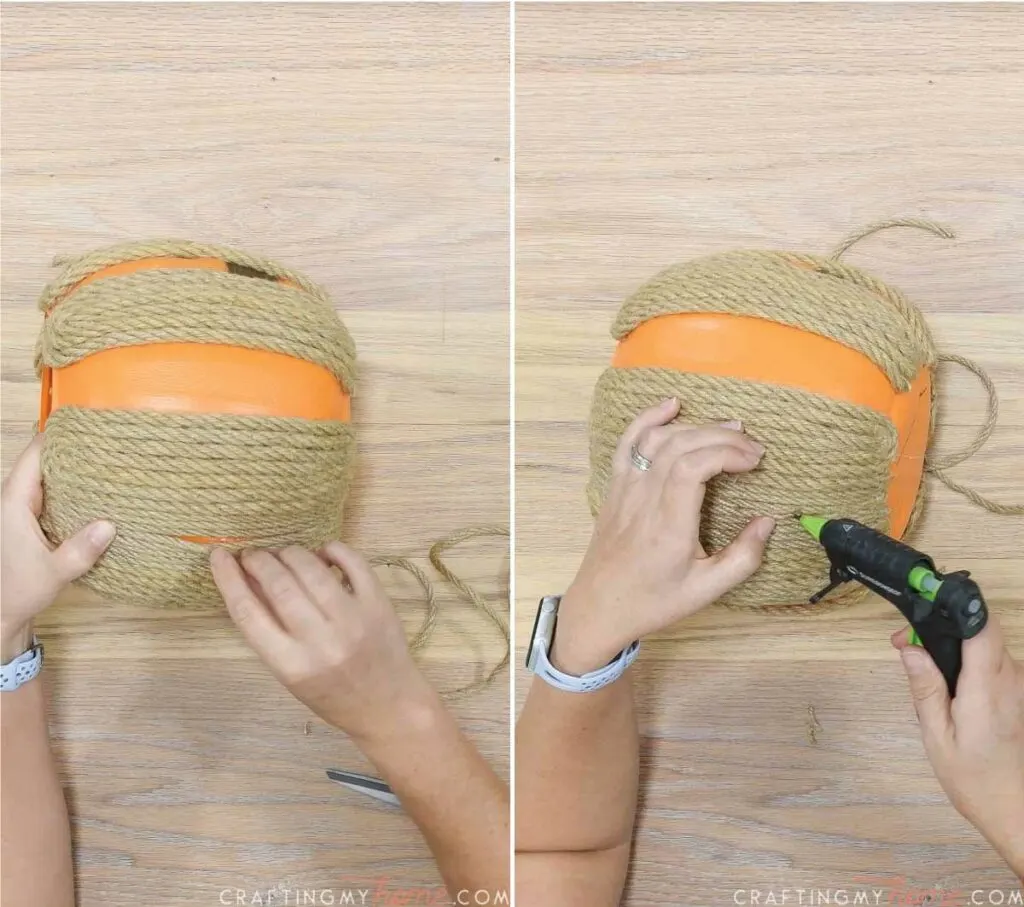
STEP 2- Attach the smaller jute
Now you will fill in the sections between the large rope with the 5mm rope.
Start at the bottom and add the rope right next to the larger one. Go around in a circle again filling in the entire area.

For the smaller rope, I found it was necessary to fill in the center section with 2 separate pieces. Cut them at an angle and tuck the ends under the other ropes and secure with glue just like you did with the large rope.


The second cut piece will be shorter than the first.
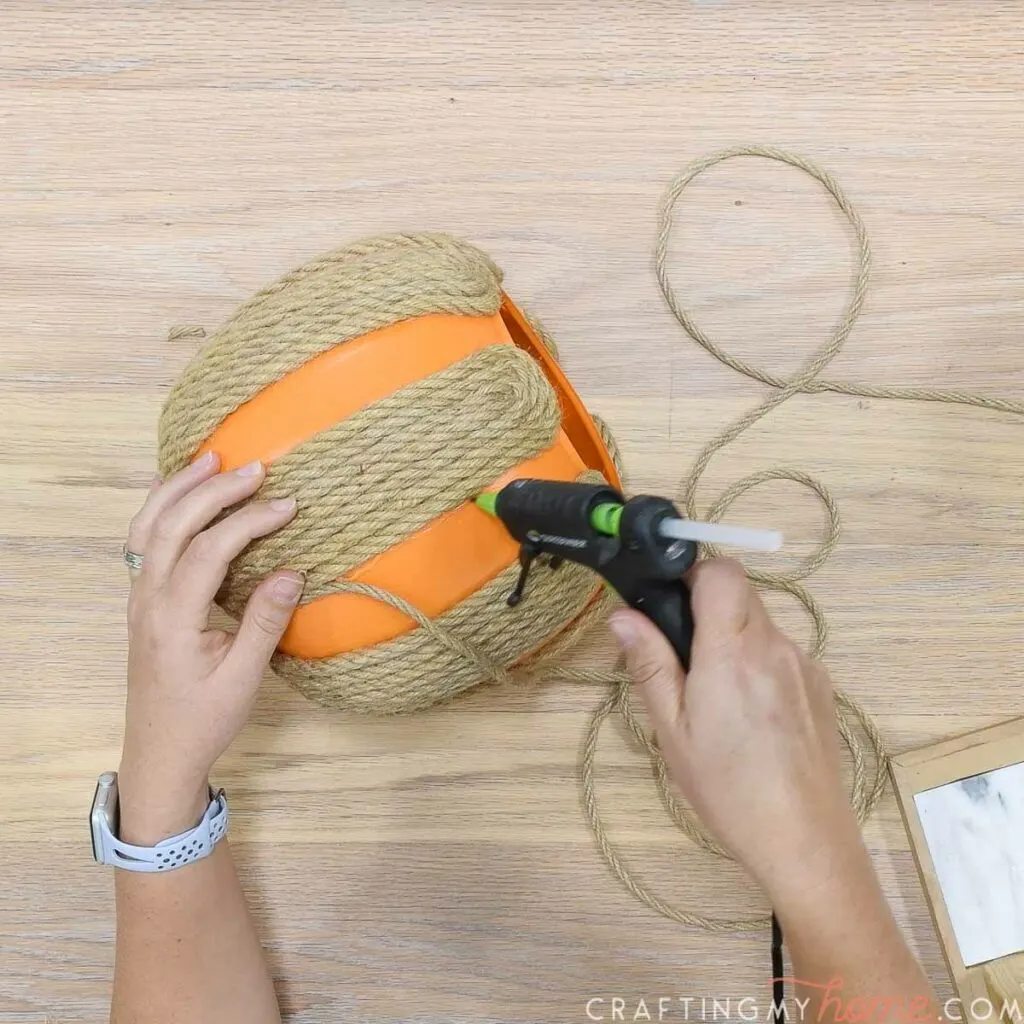
Continue filling in all the sections between the larger rope until you have covered the entire pail.

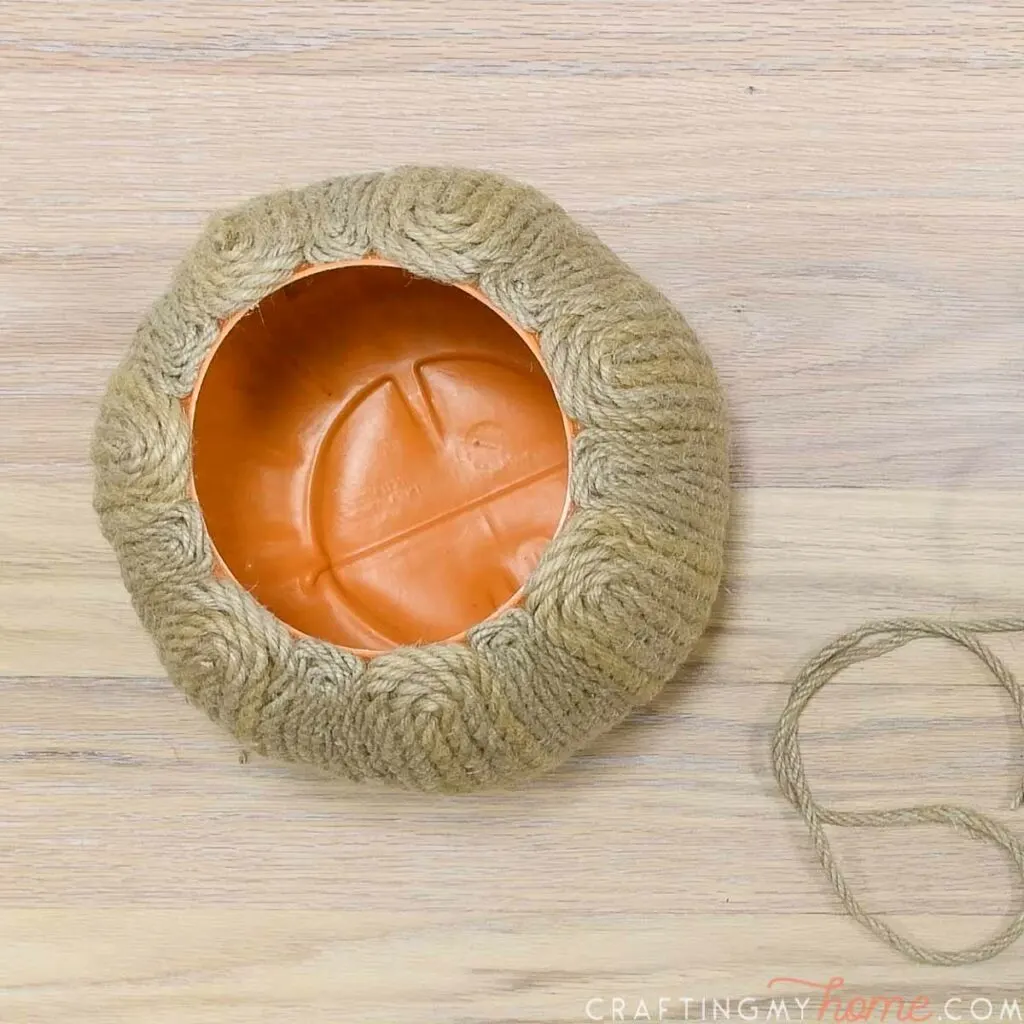
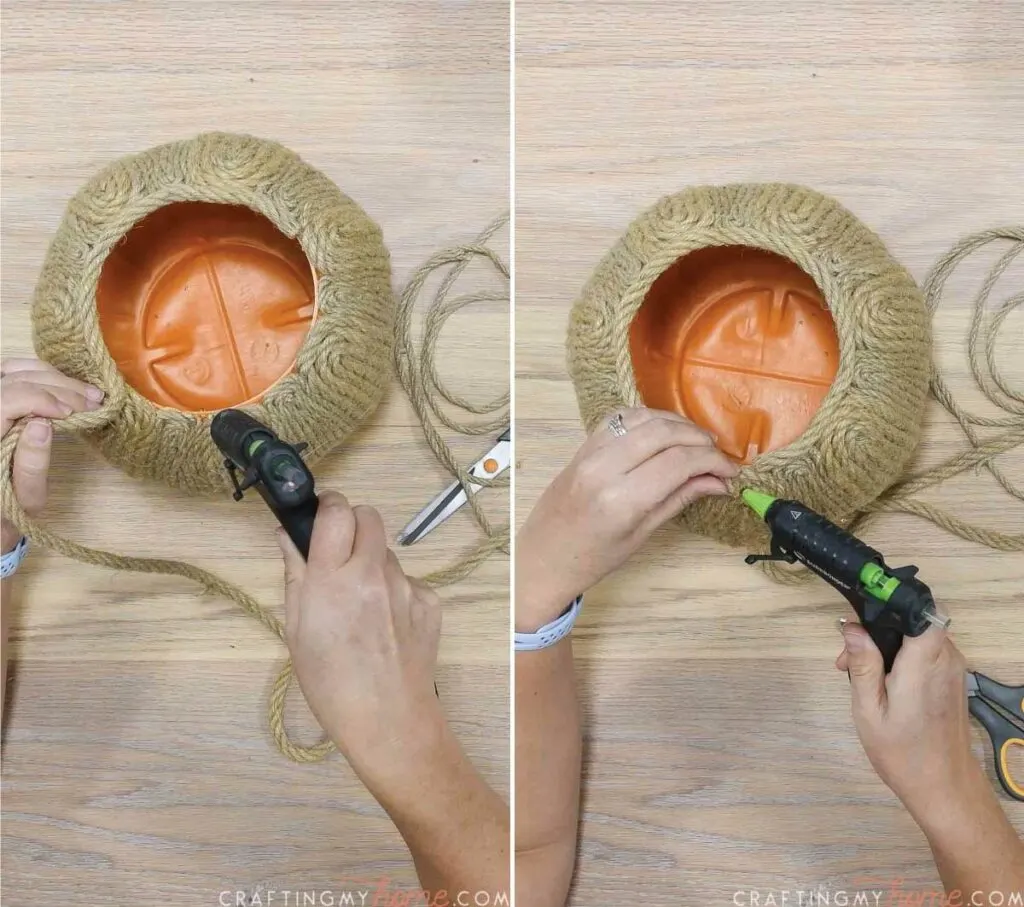
STEP 3- Finish off the top
Cut a flat end on the large jute. Add some glue in the ends to keep it from fraying.
Glue it to the top of the pail to cover up the ends.
When you get to the end. Cut a flat end and add some glue to prevent fraying. Then glue to the two pieces together at the ends.
This makes the seam disappear nicely.

You can drill drainage holes in the bottom of your planter or use it as a plant basket to hide a not-so-pretty pot.
I prefer to add some rocks to the planter and insert a plant in a plastic nursery pot. That way it is easier for me to remove plants when they need to be up-potted.
Now all that is left is to decide what plant to put in your new pumpkin planter!
Happy crafting!

DIY Pumpkin Planter
Add touches of fall to your plants with this easy DIY pumpkin planter.
Materials
- Pumpkin trick-or-treat pail
- 8mm jute rope
- 5mm jute twine
- Glue sticks
Tools
Instructions
- Cut off the handle and figure out your rope pattern.
- Add hot glue to one of the bumps.
- Glue and wrap rope towards the center of the bump.
- Cut rope at an angle and tuck the end between the other ropes.
- Continue adding large rope sections alternating around the pumpkin.
- Use smaller rope to do the same thing between the larger rope sections.
- Cover the top with a piece of rope glued to the top.
Recommended Products
As an Amazon Associate and member of other affiliate programs, I earn from qualifying purchases.


