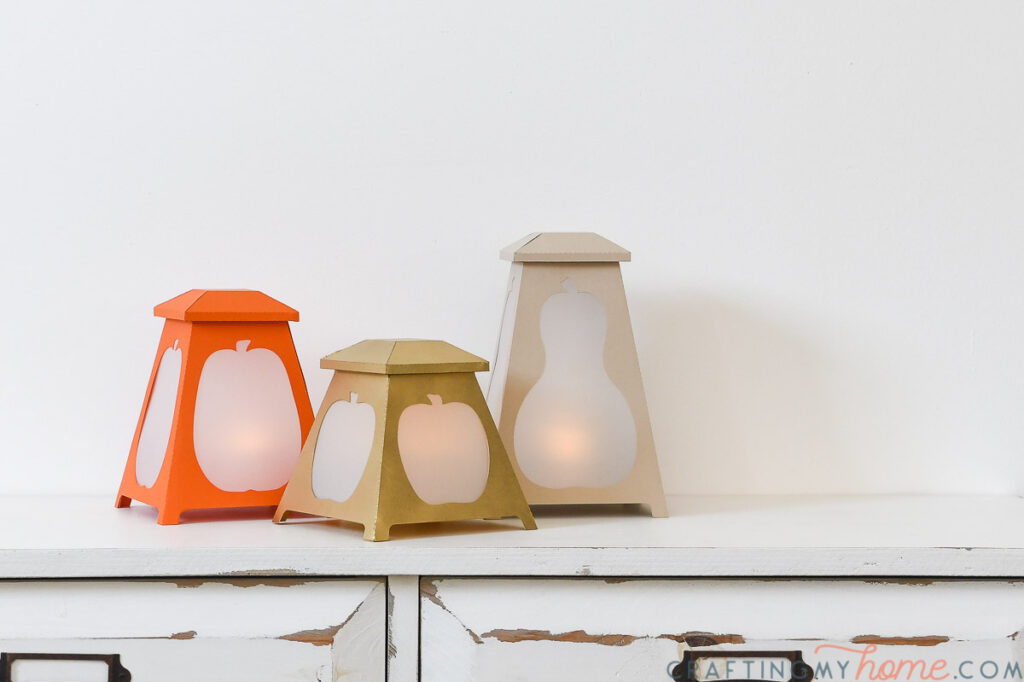
Decorate your home for fall with these tapered paper lanterns with pumpkin designs.
Are you having fun decorating your home with pumpkins yet? I have been enjoying all the pumpkin crafts so far, but we are not done yet!
Today I am sharing a pumpkin themed paper craft: pumpkin lanterns! These tapered lanterns have a lid and bottom.
I am a big fan of creating fun little lanterns to sprinkle all around the house for the different seasons. Last year I made these 3D pumpkin lanterns and I also love these fall leaf lanterns.
This post may contain affiliate links. As an Amazon Associate I earn from qualifying purchases. Click here to read my full disclosure policy.
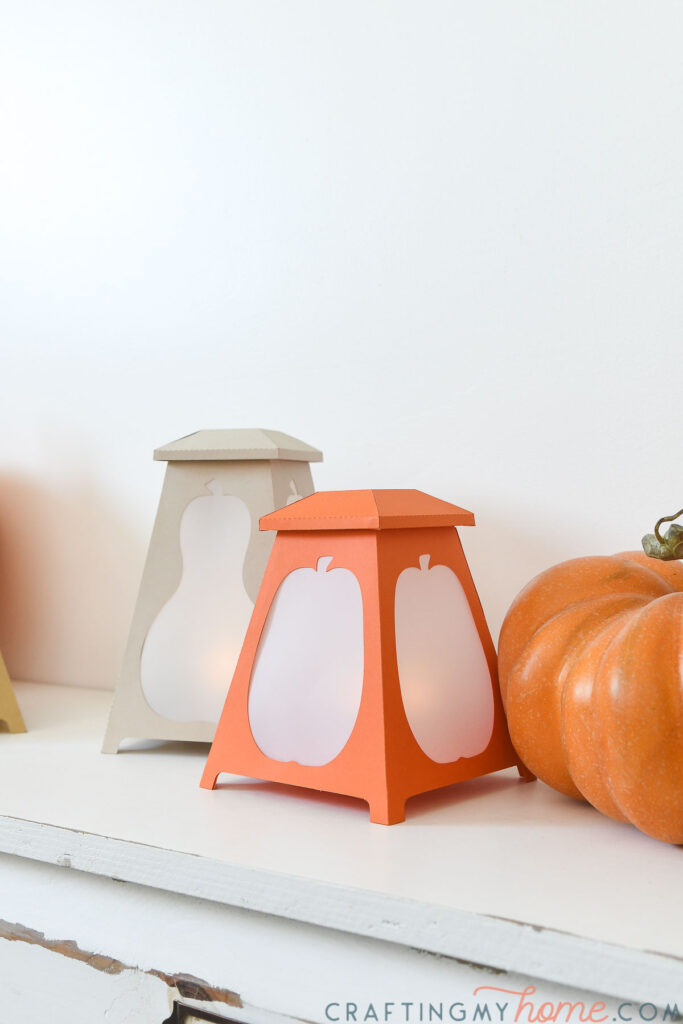

This year I decided to create a lantern with a taper to it. It give the design a pyramid look which works well nestled around the round pumpkins.
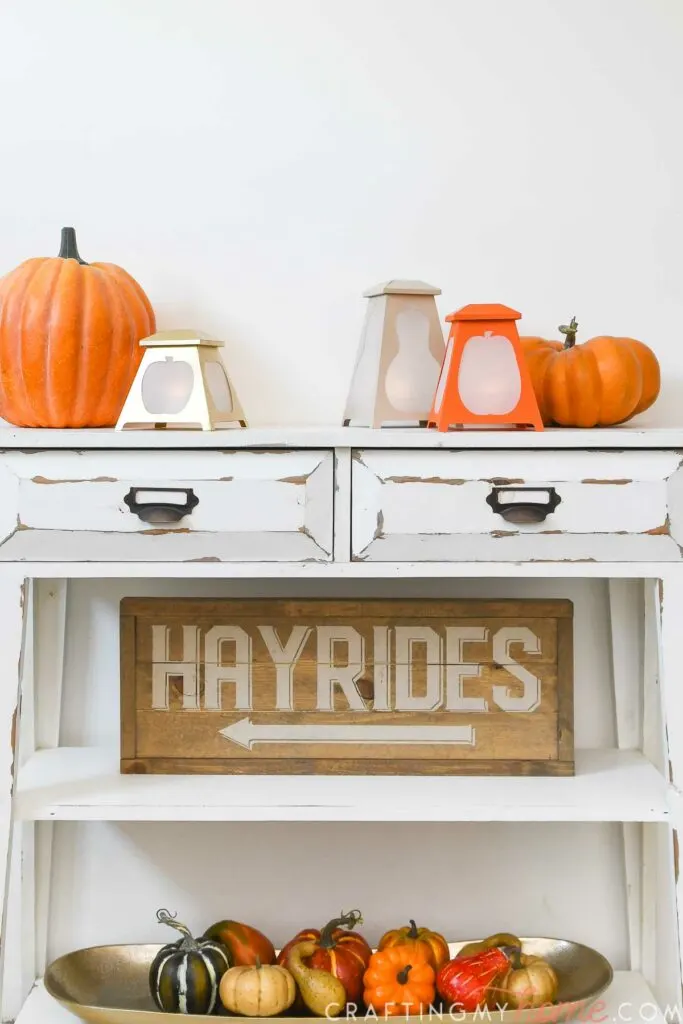
Use these paper lanterns anywhere you want to add some fall touches to your home. I like them on shelves, in bookcase, as a centerpiece and more!

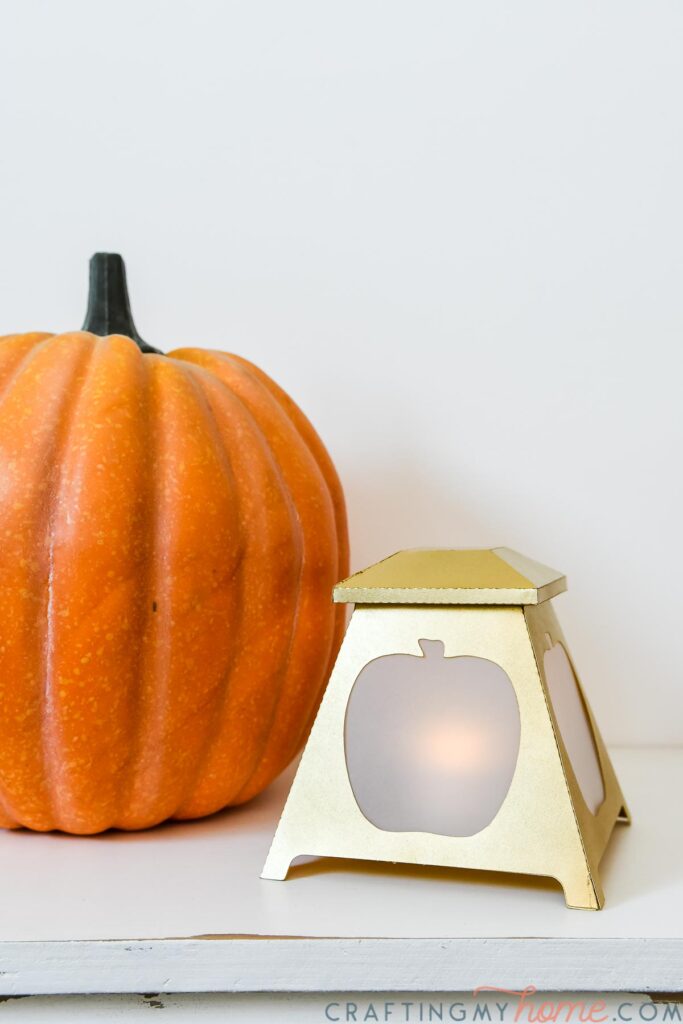
The sides of these pumpkin lanterns have a large cutout pumpkin or gourd shape. You can cover the sides with vellum and use a flameless candle to give it a glow.
Or you could cover the sides in clear plastic. Then fill the lanterns with leaves, acorns or fall smelling pot-pourri.

5 Days of Pumpkin Crafts
This project is only Day 3 of the week long series devoted to decorating with pumpkins!
For more pumpkin crafts for adults, check out these other posts. I will update the list as new projects go live.
- Day 1: Hello Pumpkin SVG
- Day 2: Easy Wire Pumpkin Wreath
- Day 3: Tapered Paper Pumpkin Lanterns for Fall
- Day 4: Easy Pumpkin Planter for Fall
- Day 5:Cozy Modern Pumpkin Pillow
How to Make a Paper Pumpkin Lantern
Supplies needed:
- Tapered lantern template
- Cardstock
- Vellum
- Hot glue gun and glue sticks
- Scissors and X-acto knife
- Optional: Electronic cutting machine like a Silhouette Cameo or Cricut Maker
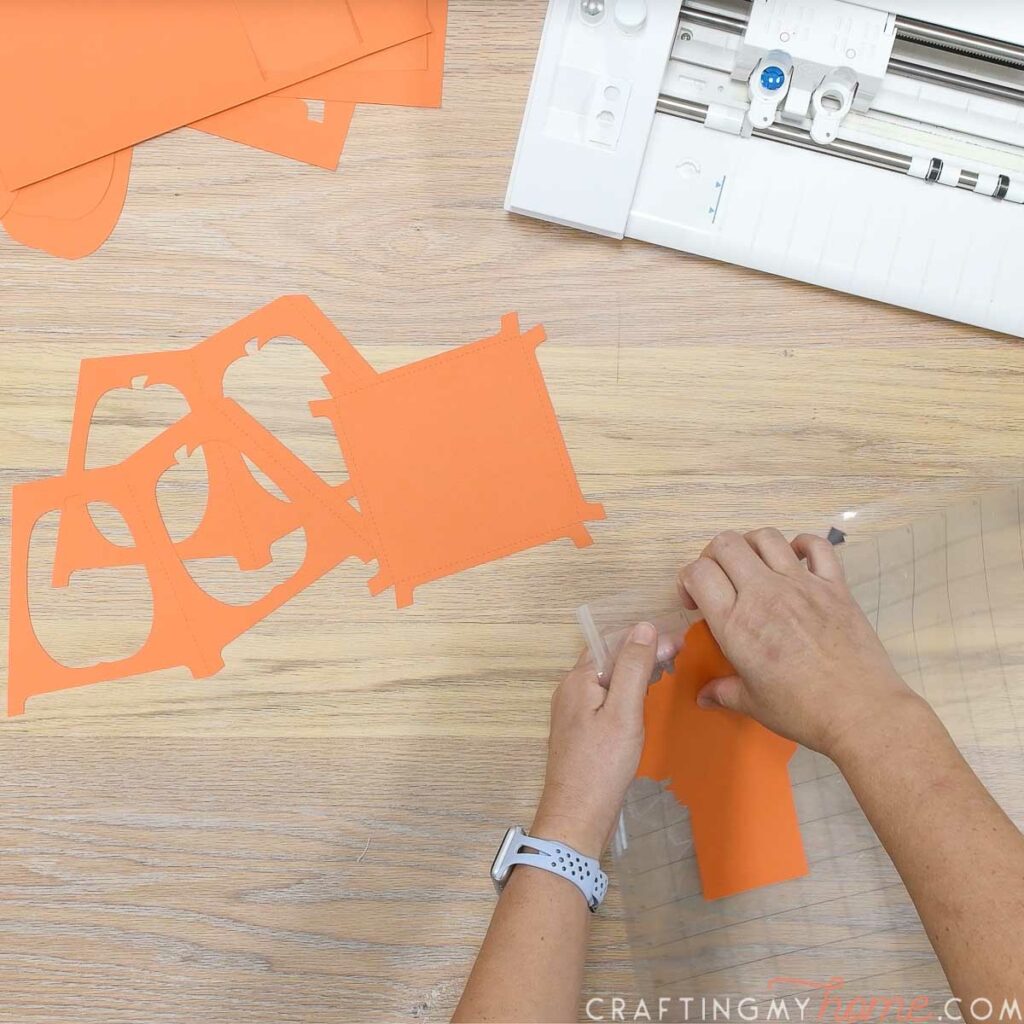
STEP 1- Cut out the pieces
Each lantern consists of 2 side pieces, a bottom, a lid, and 4 vellum pieces.
Cut the pieces out of cardstock. You can cut them out with the SVG files using an electronic cutting machine or cut them by hand using the PDF files.

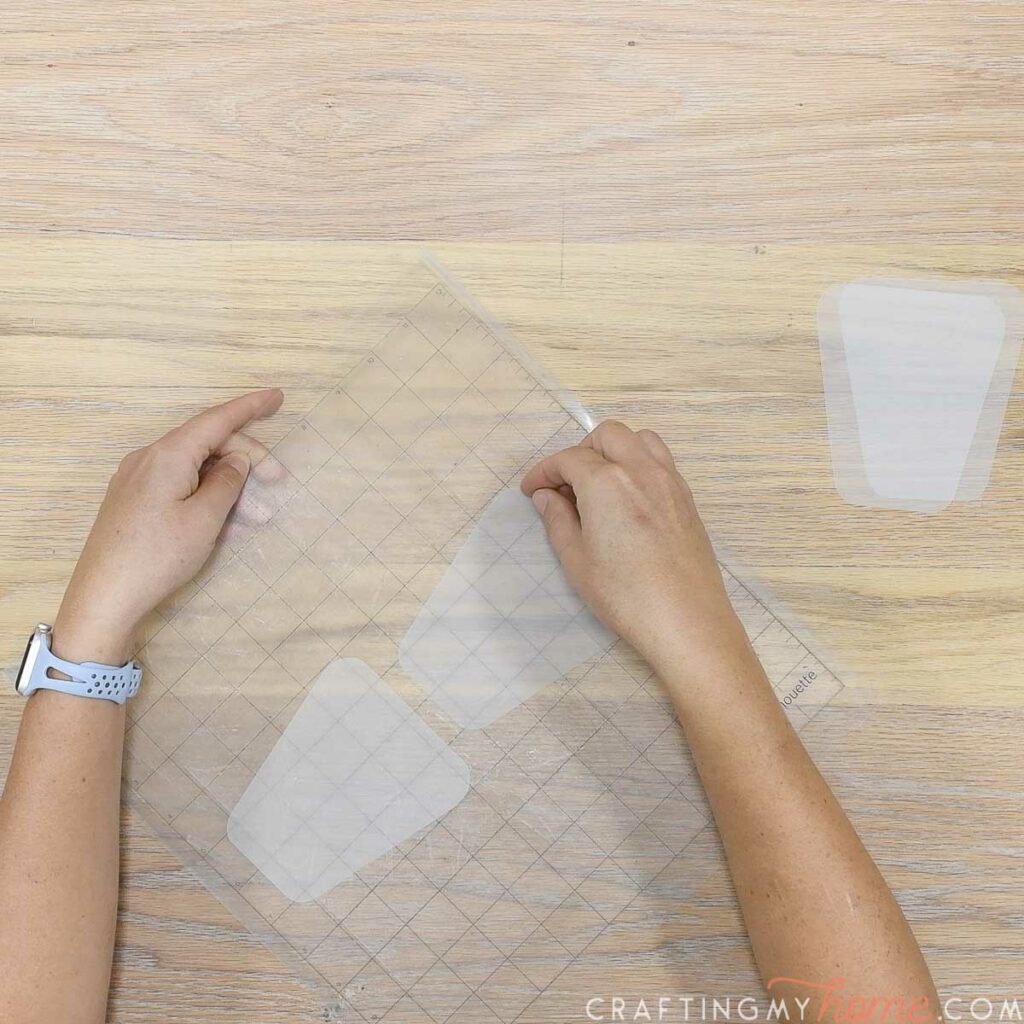
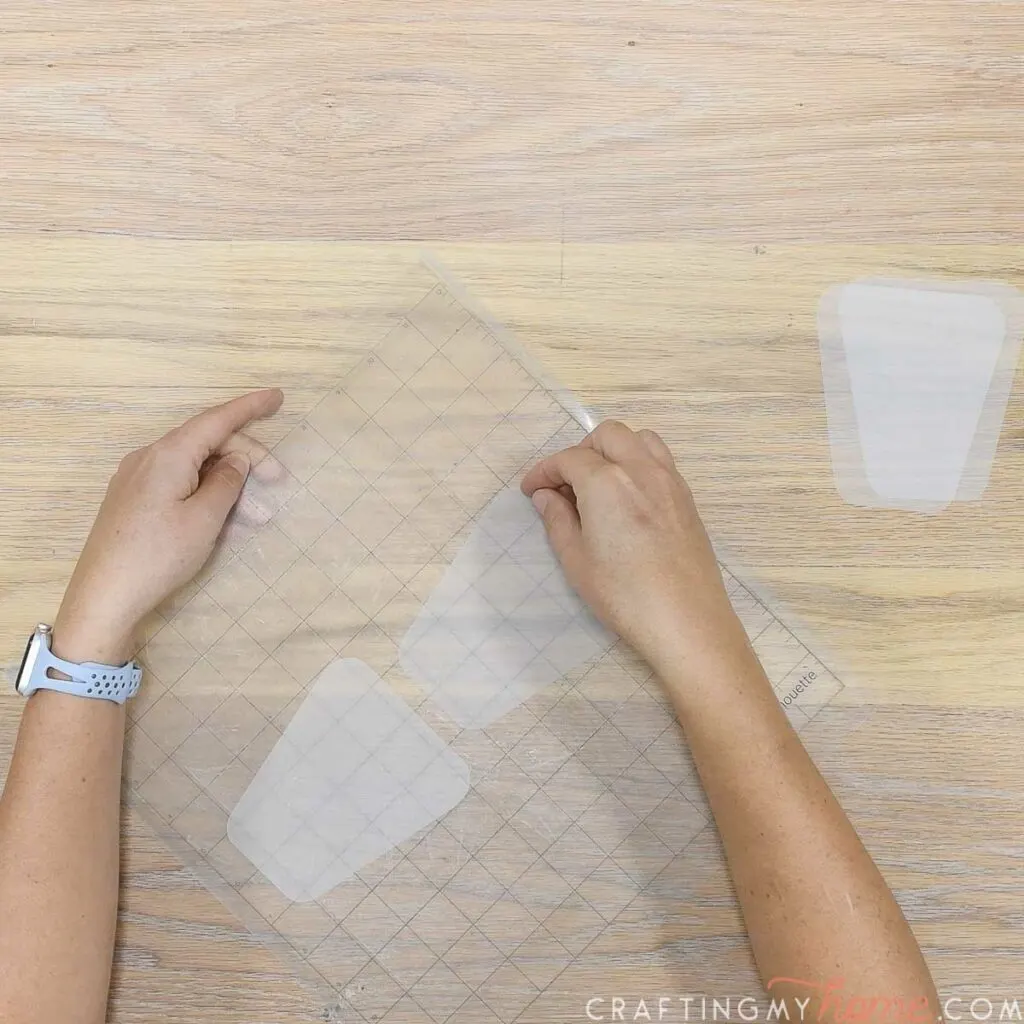
Cut the vellum pieces (4 of each size per lantern) out of vellum paper.
They will allow light through the lanterns but still show the pumpkin shapes.
STEP 2- Assemble the lantern
Fold along all the dotted lines.
EXPERT TIP:
Fully crease all the lines to get clean edges when assembling your paper crafts.
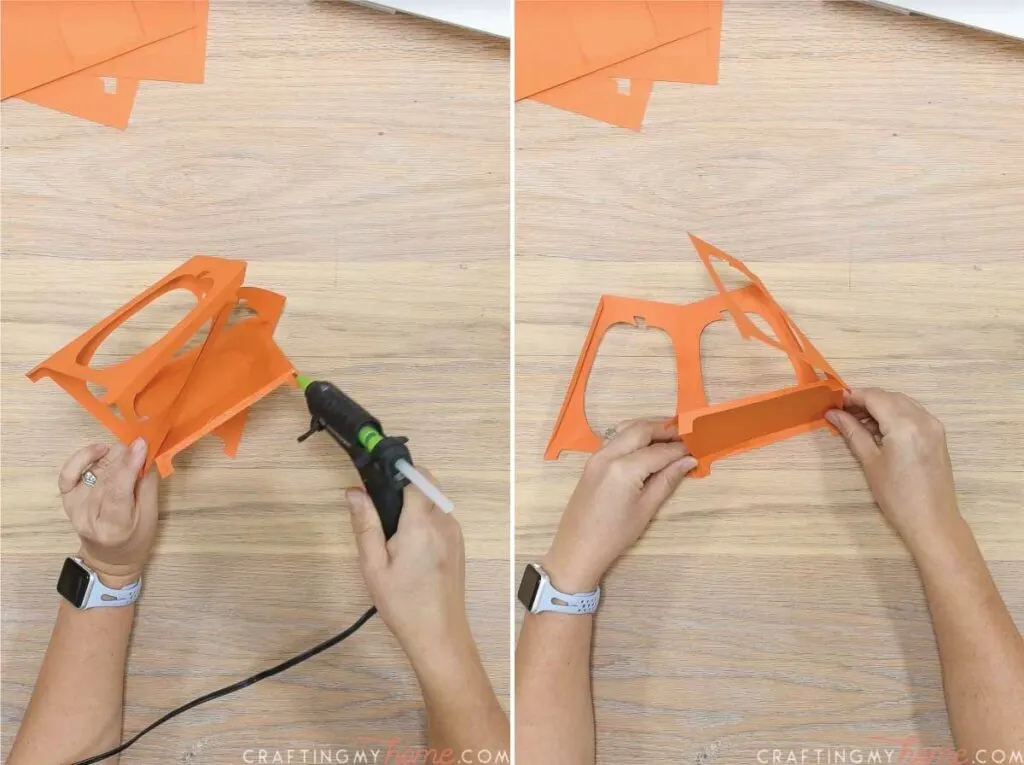
Add glue to the tab on one of the sides and attach it to the other side piece.

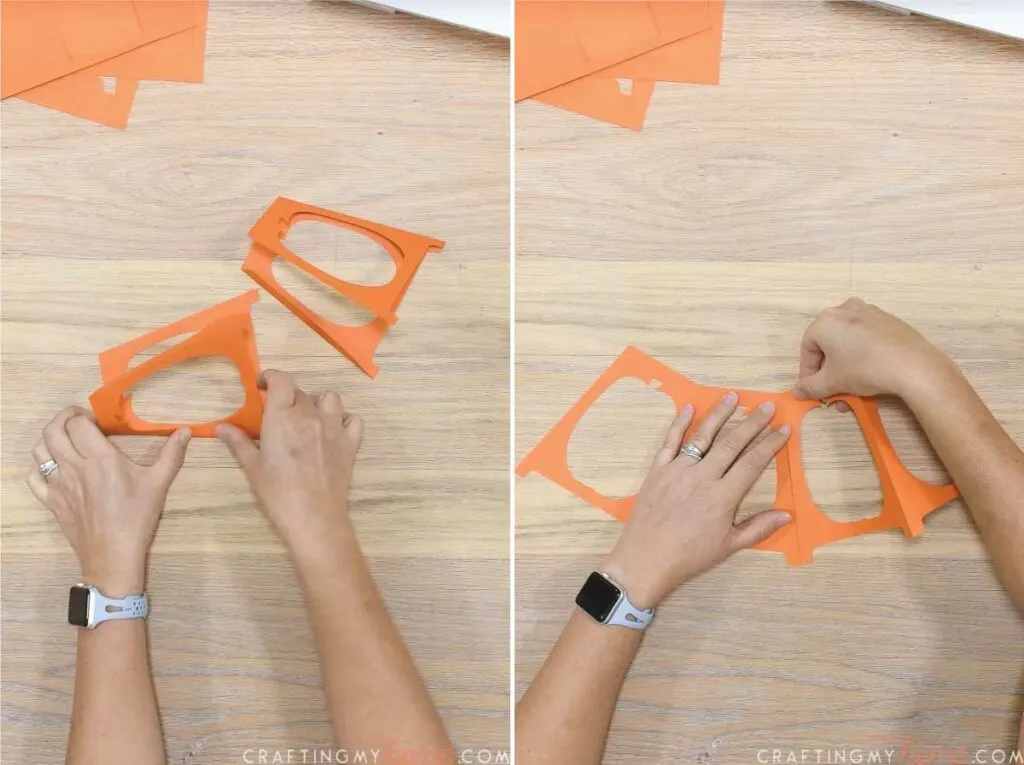
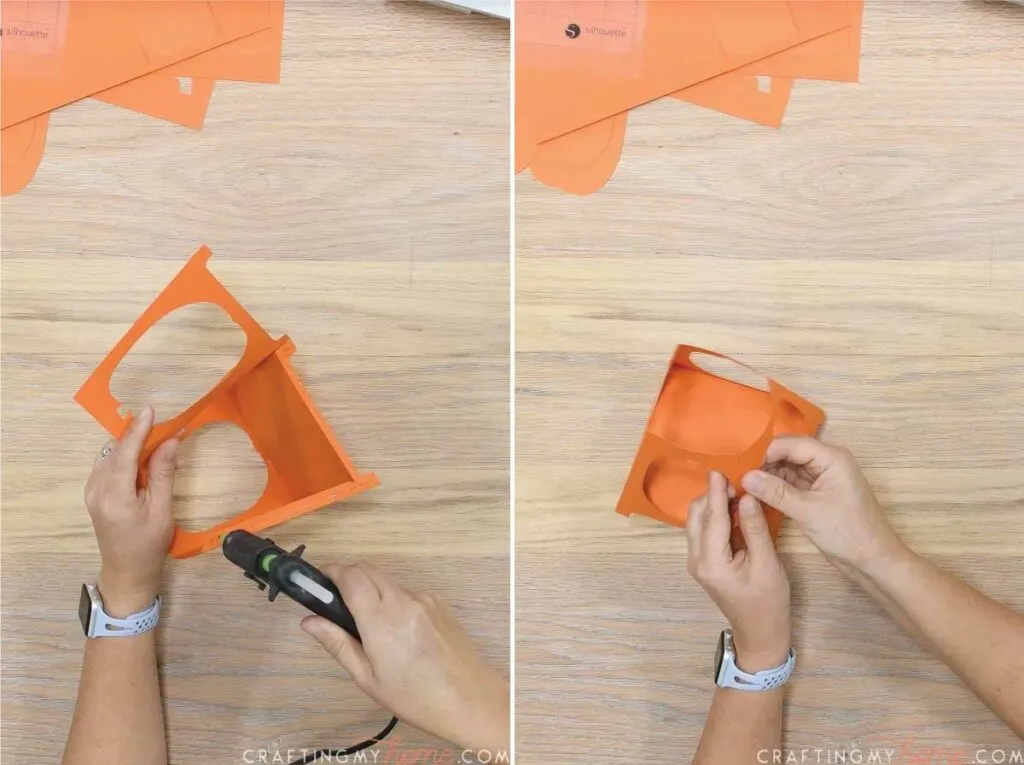
Add glue to one side of the bottom piece.
Line it up with the bottom of one of the sides and press firmly.
EXPERT TIP:
If you need extra time to line up your pieces, line them up without glue. Then lift one half up and add glue. Press and life the other other half to add glue.

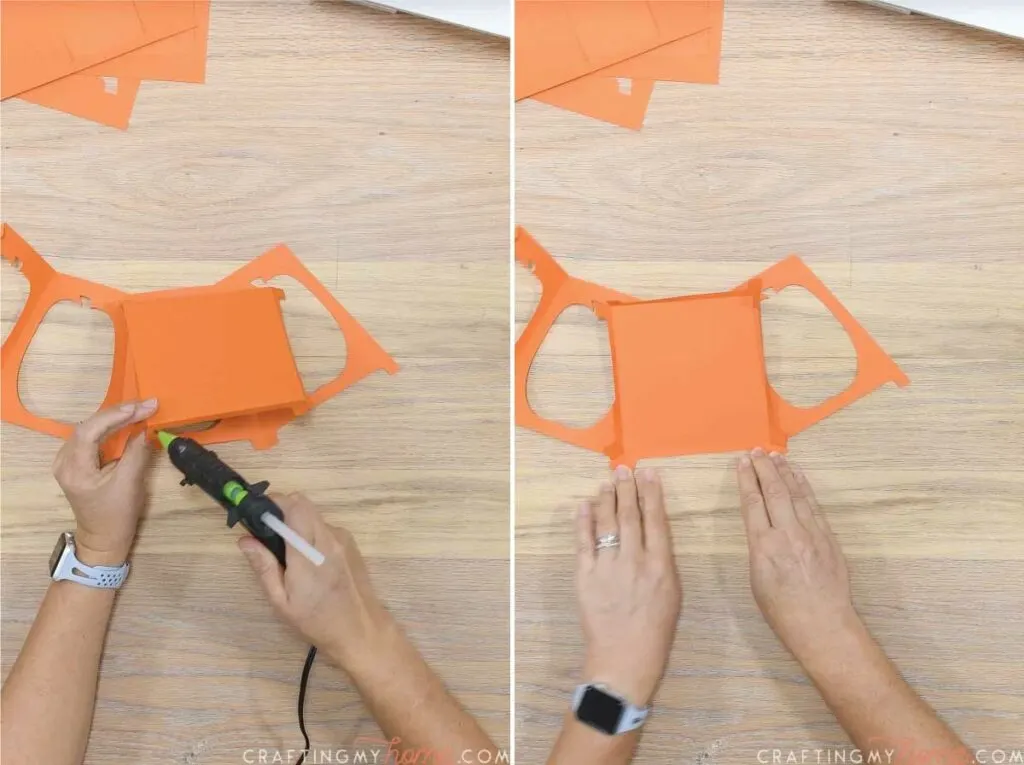
Repeat adding glue and securing the base to the bottom of the sides.

For the last side, you will be adding glue to the bottom piece and the side flap.
Press firmly to fully enclose the lantern.

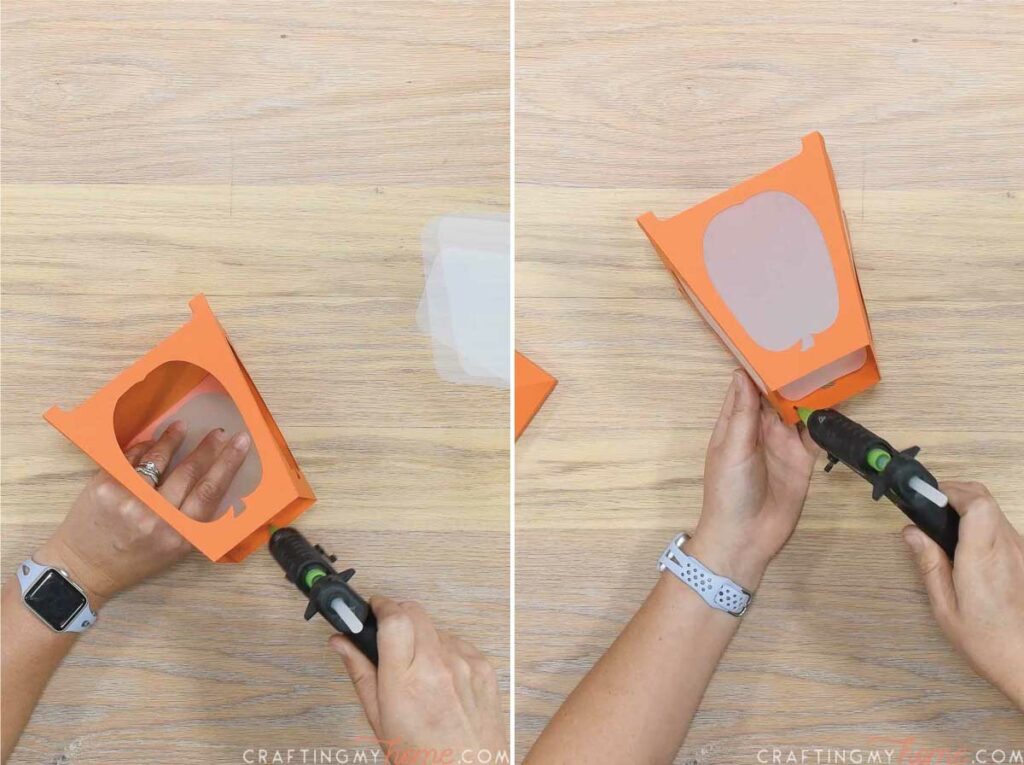
Glue the vellum pieces to the inside of the lantern to cover up the opening.
You can do this before you assemble or after. I did one before and one after, the smaller lanterns are easier if you do it before assembly.

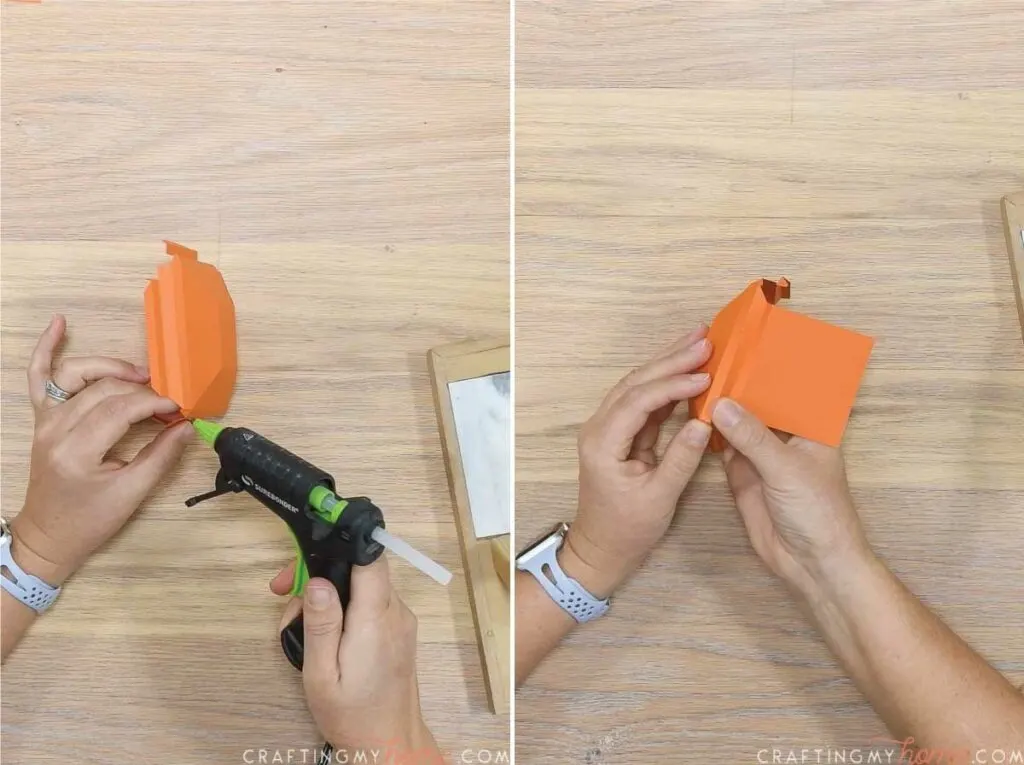
STEP 3- Assemble the lid
Fold along all the dotted lines on the lid.
Start assembling the lid at the top. Add glue to the flaps by the taper and secure to the piece next to it.
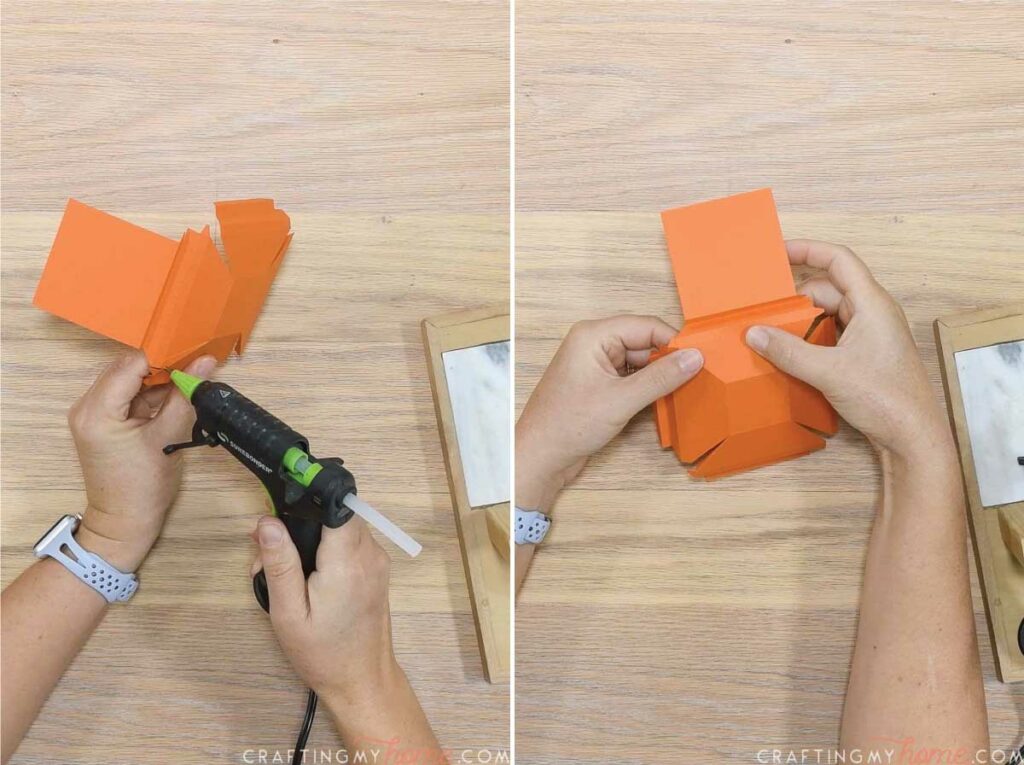

Then move down to the sides of the lid.
Add a dot of glue to the flaps and secure to the piece next to it to create a box.

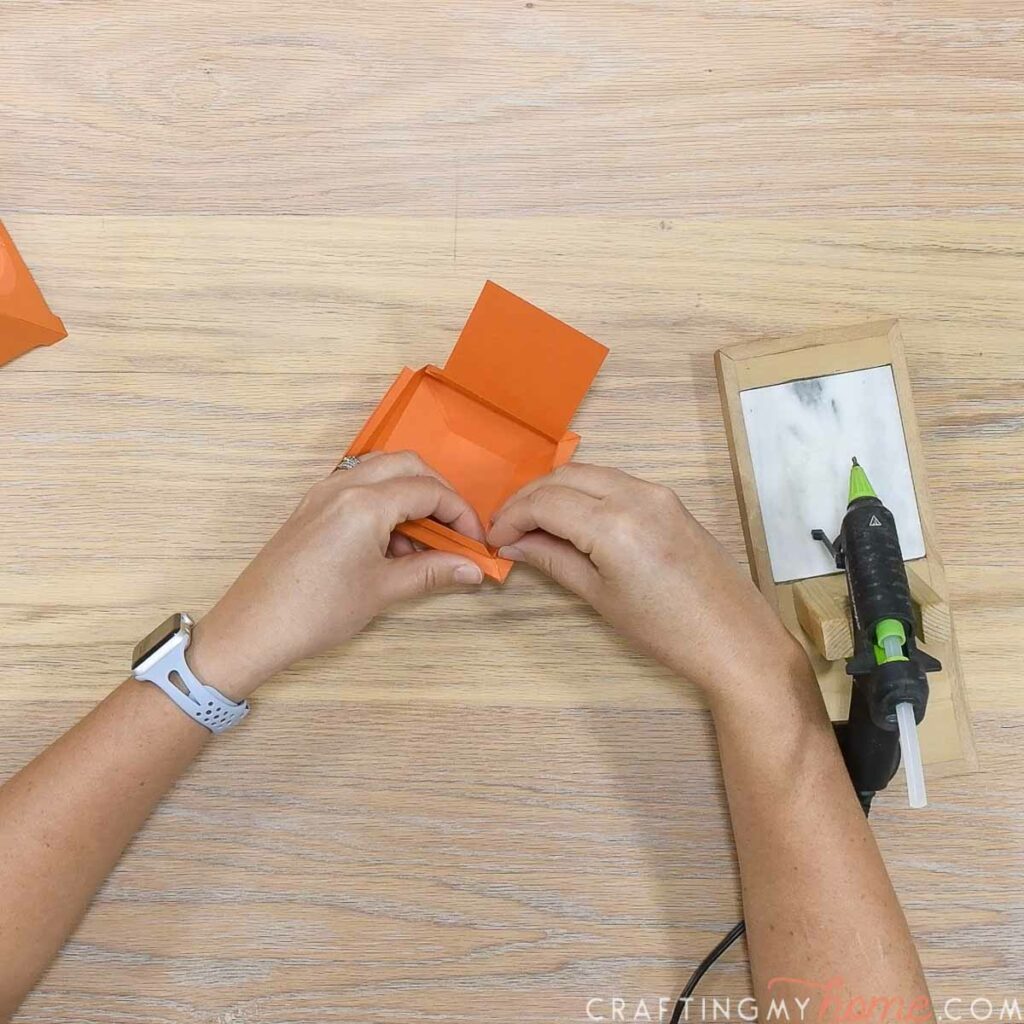
The underside of the lid is a little trickier.
You will add glue to the flap and tuck it under the other side. Secure the flap.

To finish off the lid, add glue to the bottom flaps and press the piece onto it.
Slide it as needed to line up before the glue dries.
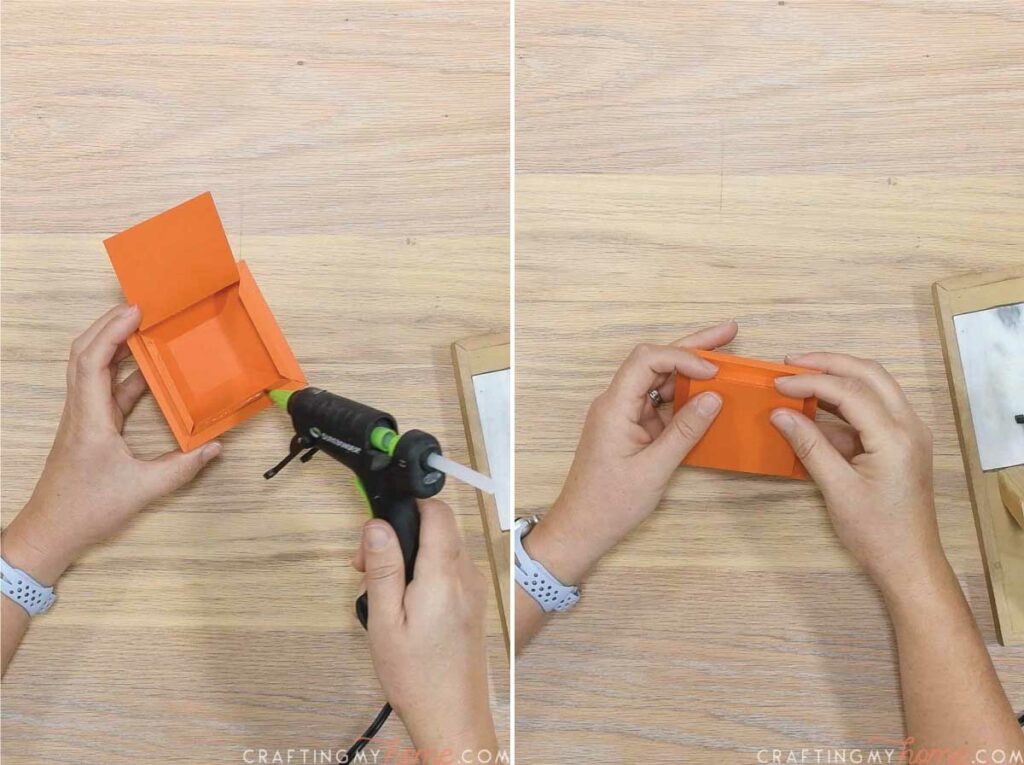

Now you can place your lid on top of your new paper lantern.
Add a flameless candle to the inside to get a warm glow in the evenings. I can almost smell the pumpkin spice 😉

These cute lanterns are a great way to add some fall vibes to your decor.
Happy Crafting!